Showing posts with label fancy. Show all posts

Wednesday, 21 January 2015

I have new kitchen toys!

Don't you just love Home Bargains?

Look at the bargains I've picked up for my home...

Oooh,  a cake pop holder! Just right for... well... holding cake pops.
Ooooh, another cake pop holder. I wonder what I can hold in this...
 And yes, I do need two cake pop holders. That perspex one will be perfect for holding them while they dry. And the wire one will look pretty on the table... I've used a card stand before, but it just got messy, and was a wee bit floppy.

An embossing rolling pins! How exciting!
 For decorating icing on cakes. But don't tell my mum I've bought them, as they're for her...

And the last one is not from Home Bargains (Though I'm sure they sell a version of their own) This was a Christmas present.


Shiny shiny shiny!


That makes it practically vintage!

It looks absolutely brand new. No flour, no finger prints. Like it's never been out of the box.
And then I ruined it by using it. I don't know how I made tagliatelle without one!
Anybody want to see how this works out for me...?

Saturday, 10 May 2014

Sunday, 6 April 2014

40th Birthday Party

Pardon my absence - it's been a busy old week!
Made what felt like a hundred cakes...

It was four. It just felt like more. 'Twas Dan's 40th birthday, so I offered to make some cake.
I thought a couple of sheet cakes would be good, but for a birthday surprise I wanted to make some cakes that looked like his cats.

Here they are... cats in boxes.

So this is a bit of a hotch potch of cake making - there's an abundance of new stuff to be used, and icing to prepare!

I used a 5egg cake mix for each pair of cakes (one sheet/one cat in each flavour) and the mix was divided and flavoured before adding to the tins.

First up -Sheet cakes
I made two of them chocolate orange cake with an orange flavoured buttercream frosting, and a vanilla sponge with a chocolate ganache topping.

Here's my first new toy - tray bake foils. Exciting!


How about something a little different? Hemispheric cake tins? Yes indeed!

oooh, that's me in there...

Stackable cooling racks? Is there no gadget I won't buy?

 (I haven't found my photos yet... here are some to keep you going )

Next on the list is the indispensable non-stick-in-a-bottle: 

 
GREASE THEM TINS!!


 Annnywaaay... here's what they looked like after they'd been cooked:


rack 'em up...


And this is what the cake tin looked like - non stuck!


 It was the fun bit next - decorating.

I used a dark chocolate ganache for the plain sponge, and an orange flavoured butter cream on the chocolate cake.
Then added chocolate candy beans (a marvelous Home Bargains purchase...) and malteasers.


 And so to the cats!!

Orange flavoured and coloured icing for Ginge, black chocolate flavoured icing for Stumpy:


Coloured roll out icing make the facial features and ears - 


Hehe - more cats in boxes!


Monday, 17 March 2014

Batman Cup Cakes


A nice easy one today - Batcupcakes.

I'm Batman...

Today's toy is a Batman cookie cutter!


Cup cakes -
4oz marg
4oz caster sugar
4 eggs
1/2 tsp vanilla extract
4oz self raising flour

Icing (this made loads, most of which I'm saving for next week) -
Big dollop marg  (sorry, that's not very technical.)
1kg icing sugar
1 tsp vanilla extract

100g block of black icing

Make up cakes as usual - cream marg and sugar together, whisk in eggs and vanilla, mix in flour.
Scoop into large cup cakes with you trusty medium sized ice-cream scoop.
Cook for 20mins or so at 190oC until golden brown and cooked through.

Allow to cool on a wire rack (look at my funky new rack! It stacks!!!)


Roll out the icing on a flat surface with a light dusting of icing sugar. Rotate, flip and roll until it's about 2mm thick.

 Buff with polishing tool for a mirror finish.

Doesn't quite show how mirrory this was!

Take the cutter and stamp out many many bats...


Lift each bat carefully and allow to air dry on a nonstick sheet.

Load a sandwich bag with icing - force it all into one corner, then snip the corner off. Twist the bag until it starts flowing out of the hole.
Holding a cake in one hand, apply firm and constant pressure to the bag and rotate either the cake or the icing to cover the cake in an inwards spiral.

Let the cakes dry for an hour before applying the bats (if they don't quite stick scrape a small amount of icing off the tops. Only a tiny bit. Just enough to stop them wobbling about)


Present cakes to excitable child for his 4th birthday...

Saturday, 15 February 2014

Playing Card Shortbread Cookies


Another one inspired by the Barefoot Contessa.
She had teeny weeny playing card cookie cutters!! I needed them.
Amazon had them.
Now I have them.
Aces!!

So- here's Ina's recipe. 
This isn't the page I originally used, but all her shortbread recipes are pretty much the same.
I can't find the page I actually used when making these, but what I *really* should have done was read the comments at the bottom...
That would have made things much easier. I make these mistakes so you don't have to!

"Ingredients

3/4 pound unsalted butter at room temperature
1 cup sugar, plus extra for sprinkling
1 teaspoon pure vanilla extract
3 1/2 cups flour
1/4 teaspoon kosher salt  (I used table salt. I just don't have that many salts in my kitchen)
Blackcurrant jam
Strawberry jam

Directions

Preheat the oven to 350 degrees F.

In the bowl of an electric mixer with the paddle attachment, cream together the butter and 1 cup of sugar until they are just combined. Add the vanilla. In a medium bowl, sift together the flour and salt; then add them to the butter-and-sugar mixture. Mix on low speed until the dough starts to come together. Dump onto a surface dusted with flour and roll shape into a flat disk. Wrap in plastic and chill for 30 minutes."

Now... things had already started going wrong for me. I'd left the butter out at room temp for 3 days in the hope of softening it sufficiently. It was soft, yes... but not enough!
I also didn't use a mixer. The original recipe stated that was optional. I don't use mixers much. It just means more washing up. So I didn't bother.
The butter and sugar creamed together all fine and dandy.
It was adding the flour that was tough. There's a lot of flour. I got it to the "just combined" step. I even dumped it out, like she suggested. But it was a crumbly pile of crumbs. Terrible... I had to knead it until it was soft enough to form a ball. Not at all what the recipe had in mind.
And then after chilling it for the 30 minutes, I had to knead it again to get it to roll out at all.
Not entirely sure what had gone wrong, but it seemed that lots of commenters had the same issue.
Some suggested we hadn't used enough butter, perhaps only using 3/4 cup rather than 3/4lb., but that wasn't the case.
Turns out in the video that was only available to the Americas, Ina pours everything into the mixer at once, and beats it for longer.
Any way. That's something to try another day. 3/4lb of butter doesn't come cheap!

So, by massively over working the dough I'd created tough cookies, which is just tough.

Onwards!

What was her next step? Oh yes. The rolling and cutting out.
You don't need instructions for that.
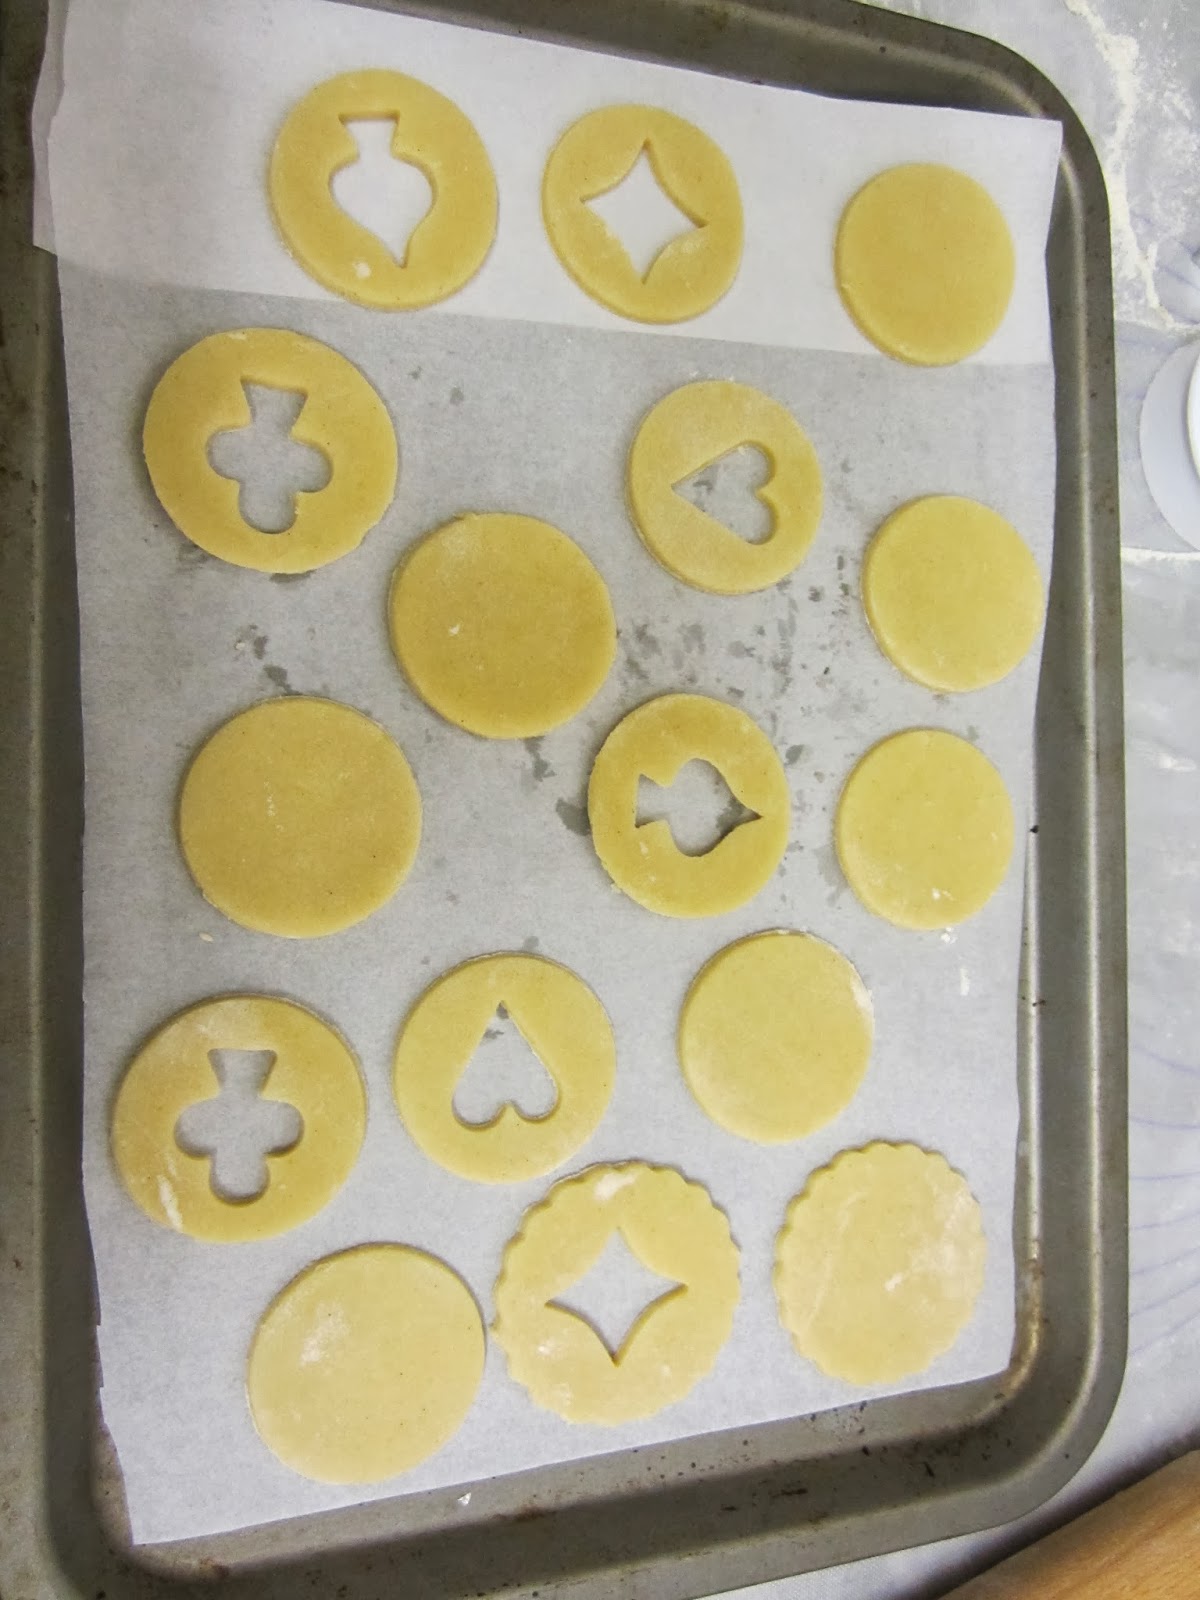
Roll it out. Cut it out. Put it on a tray. Easy.
(oh, and if you put the tray in the fridge for 15 minutes before baking you limit the spread of the cookies, and keep the edges sharper)


oooh, pretty!
And here they are baked - 20-25 mins until lightly golden brown. Don't worry if they're still soft; they continue to firm on the baking tray.


After about 10 minutes resting on the trays, transfer the biscuits to cooling racks.


hmmm. I really need a window on my oven door!

Match up tops and bottoms - and separate into two.


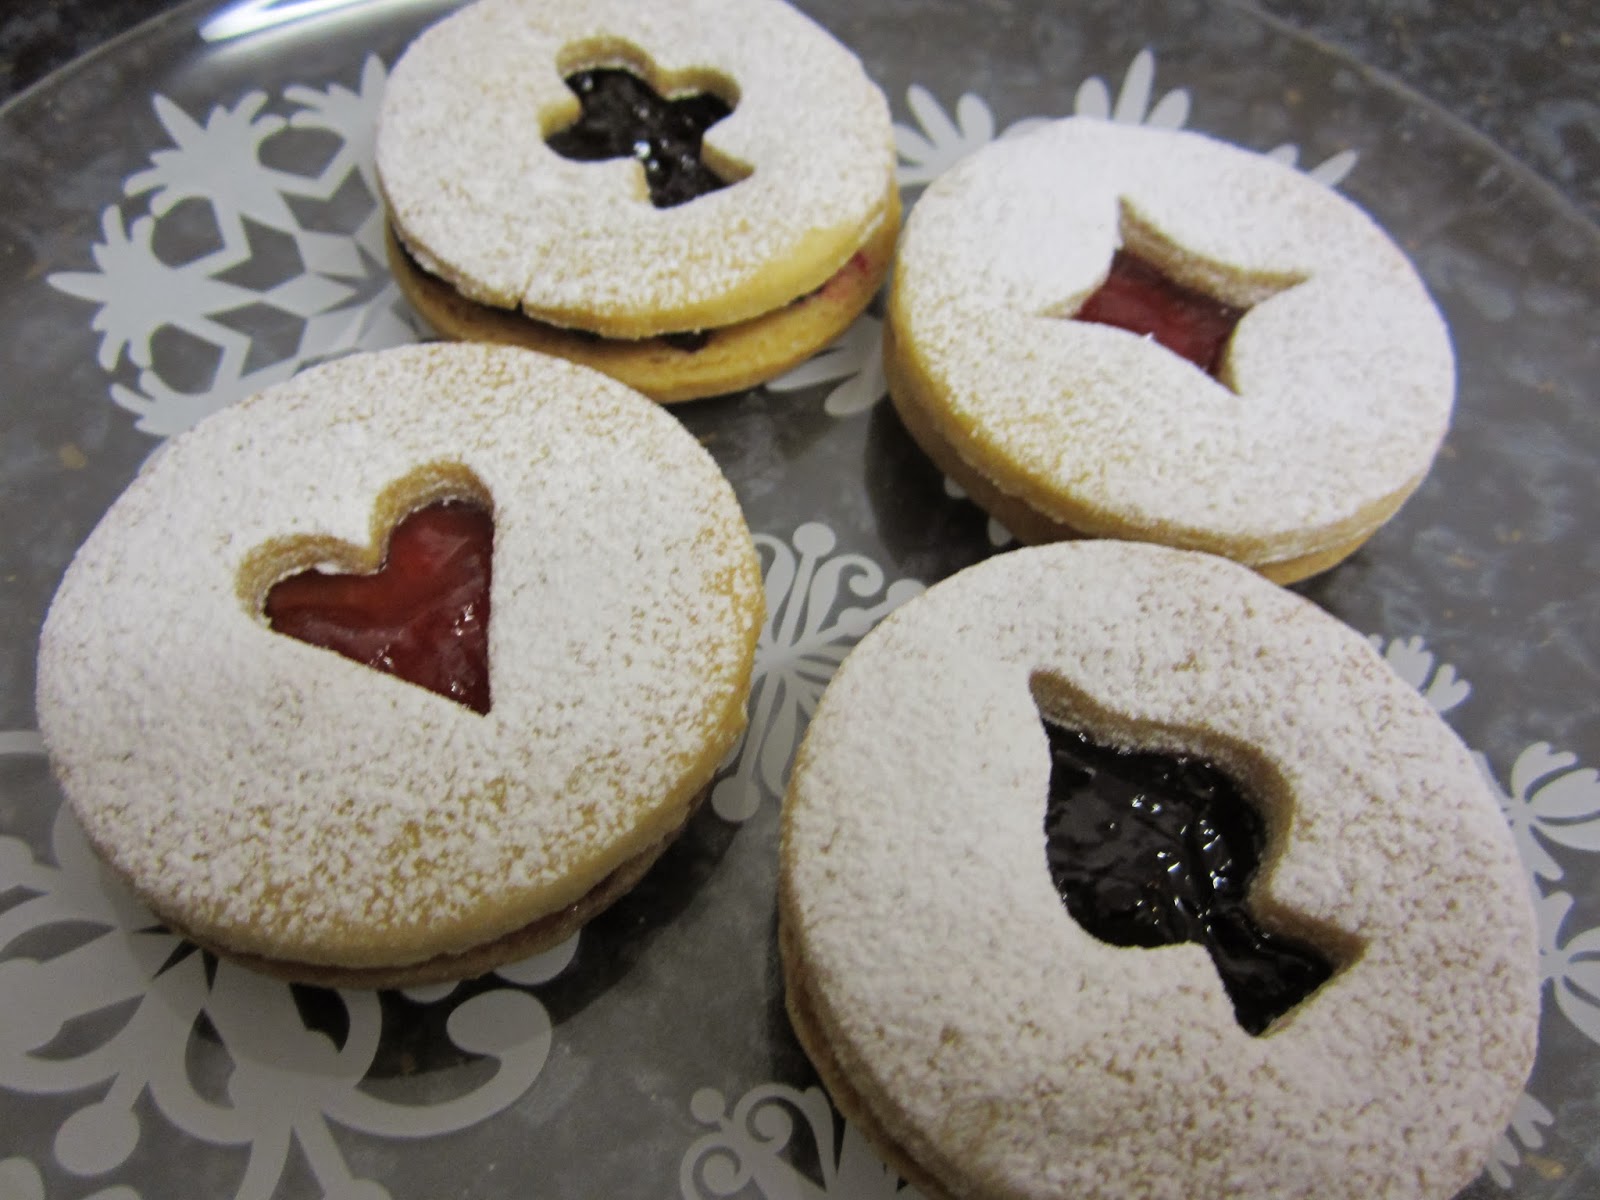
Spread jam on the bottoms - red jam for the hears and diamonds, black jam for the clubs and spades.


Sprinkle the tops with a generous amount of icing sugar (look - there's my icing sugar sprinkler!)
Don't forget to do this part before assembling, otherwise you cover the jam in sugar as well.


Put the tops on top of the bottoms (holding the biscuits by the edges so as not to disturb the sugar)


Et voila!!


Big ones, little ones!


These were actually better the next day. The cookies had absorbed some of the jammy juices and had softened up nicely.


You can buy the shaped cookie cutters here and presumably some other places...