Showing posts with label biscuits. Show all posts

Tuesday, 10 June 2014

Oat Cookies


Oat cookies. Oh yes. They deceive you into thinking they're healthy... don't believe a word of it!

My notes on these are a bit random, I'll try and make sense of them - 170g butter, 210g light brown butter... what?
Try again... this is what I actually used

170g softened butter
110g light brown sugar
100g caster sugar
1 egg
1tsp vanilla extract
105g selfraising flour
1/2 tsp salt
1/2 tsp cinnamon
260g oats
"1 cup" mixed exciting stuff (chocolate chips, dried fruit... etc I haven't put a weight, I just put a handful of each in)

Beat together the sugars and butter.
Add the egg and vanilla and mix together.
Sift in together the flour, salt and cinnamon. Stir until partially combined
Mix in the oats, stir again.
Add the mixed dry ingredients and stir to incorporate.

Using a teaspoon take scoops of the mix, and roll in to a small ball in your hands.
Place on a lined baking sheet, and press the centre of each to flatten slightly.


Bake for 10-15mins in a 190oC oven until golden brown.
Remove from tray and place on wire rack to cool.
Eat.

Saturday, 15 February 2014

Playing Card Shortbread Cookies


Another one inspired by the Barefoot Contessa.
She had teeny weeny playing card cookie cutters!! I needed them.
Amazon had them.
Now I have them.
Aces!!

So- here's Ina's recipe. 
This isn't the page I originally used, but all her shortbread recipes are pretty much the same.
I can't find the page I actually used when making these, but what I *really* should have done was read the comments at the bottom...
That would have made things much easier. I make these mistakes so you don't have to!

"Ingredients

3/4 pound unsalted butter at room temperature
1 cup sugar, plus extra for sprinkling
1 teaspoon pure vanilla extract
3 1/2 cups flour
1/4 teaspoon kosher salt  (I used table salt. I just don't have that many salts in my kitchen)
Blackcurrant jam
Strawberry jam

Directions

Preheat the oven to 350 degrees F.

In the bowl of an electric mixer with the paddle attachment, cream together the butter and 1 cup of sugar until they are just combined. Add the vanilla. In a medium bowl, sift together the flour and salt; then add them to the butter-and-sugar mixture. Mix on low speed until the dough starts to come together. Dump onto a surface dusted with flour and roll shape into a flat disk. Wrap in plastic and chill for 30 minutes."

Now... things had already started going wrong for me. I'd left the butter out at room temp for 3 days in the hope of softening it sufficiently. It was soft, yes... but not enough!
I also didn't use a mixer. The original recipe stated that was optional. I don't use mixers much. It just means more washing up. So I didn't bother.
The butter and sugar creamed together all fine and dandy.
It was adding the flour that was tough. There's a lot of flour. I got it to the "just combined" step. I even dumped it out, like she suggested. But it was a crumbly pile of crumbs. Terrible... I had to knead it until it was soft enough to form a ball. Not at all what the recipe had in mind.
And then after chilling it for the 30 minutes, I had to knead it again to get it to roll out at all.
Not entirely sure what had gone wrong, but it seemed that lots of commenters had the same issue.
Some suggested we hadn't used enough butter, perhaps only using 3/4 cup rather than 3/4lb., but that wasn't the case.
Turns out in the video that was only available to the Americas, Ina pours everything into the mixer at once, and beats it for longer.
Any way. That's something to try another day. 3/4lb of butter doesn't come cheap!

So, by massively over working the dough I'd created tough cookies, which is just tough.

Onwards!

What was her next step? Oh yes. The rolling and cutting out.
You don't need instructions for that.
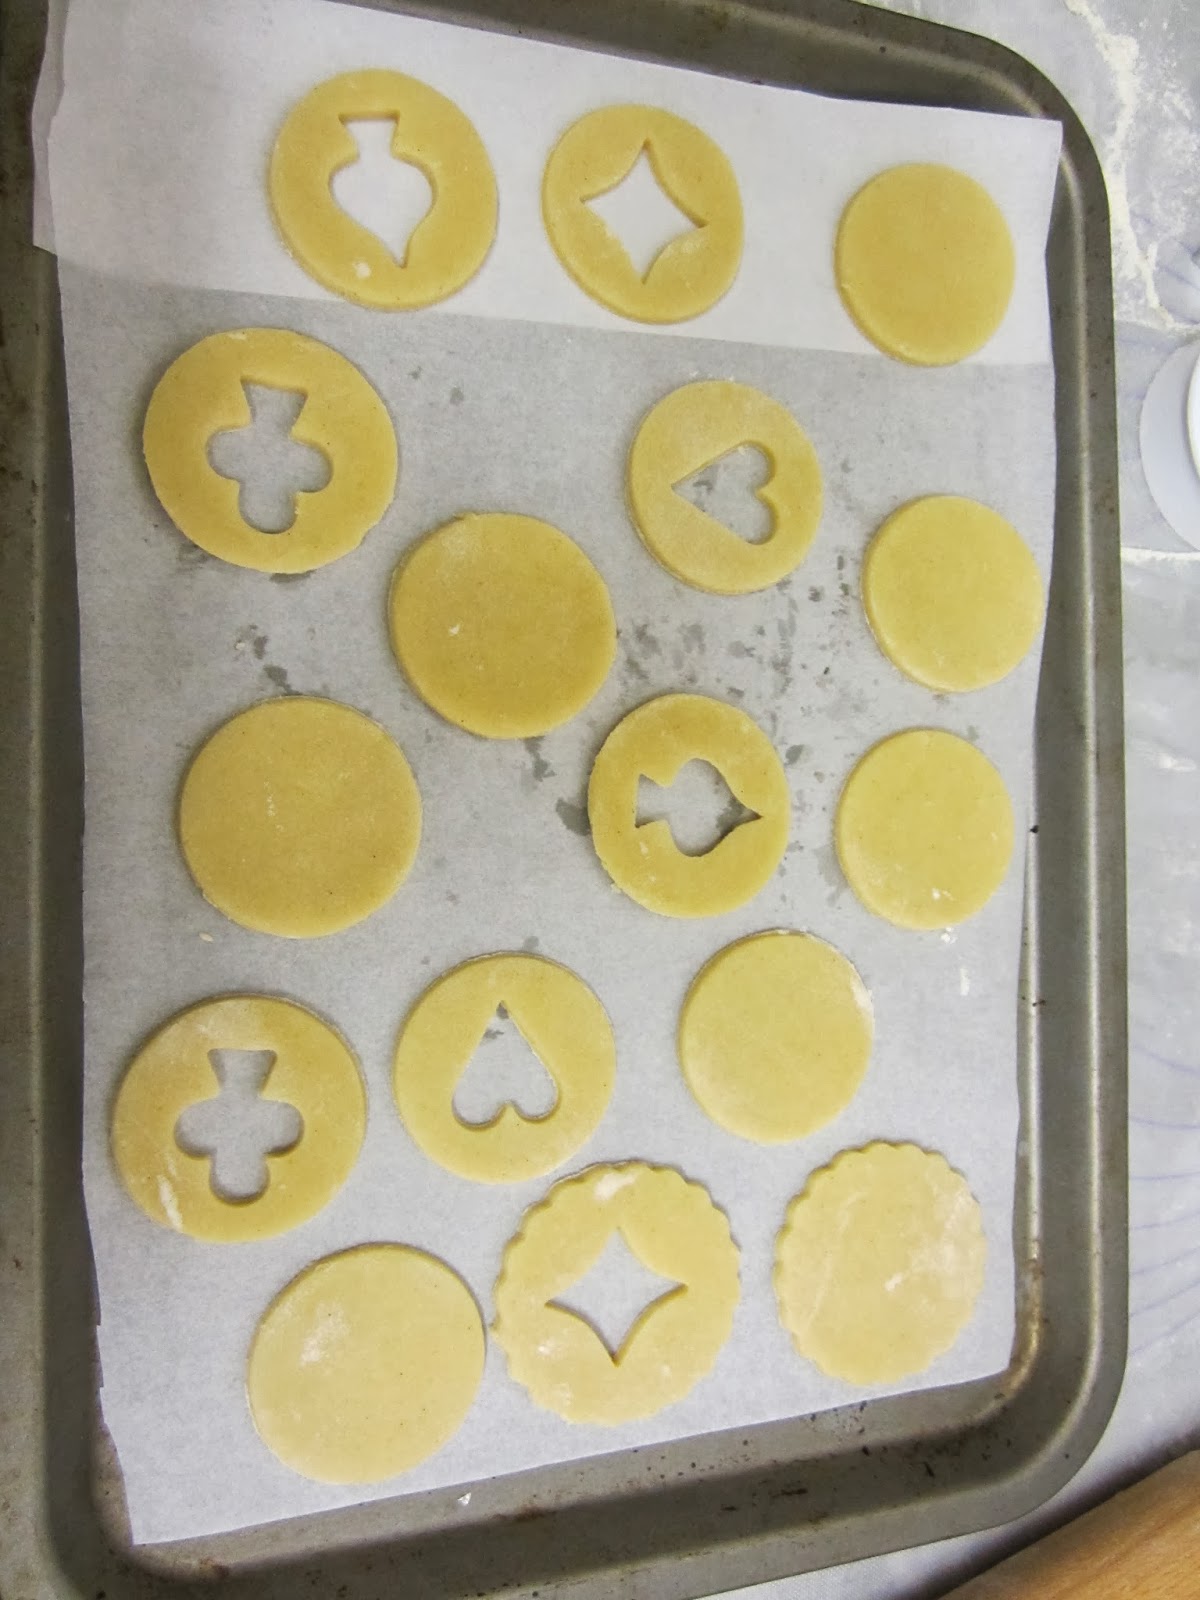
Roll it out. Cut it out. Put it on a tray. Easy.
(oh, and if you put the tray in the fridge for 15 minutes before baking you limit the spread of the cookies, and keep the edges sharper)


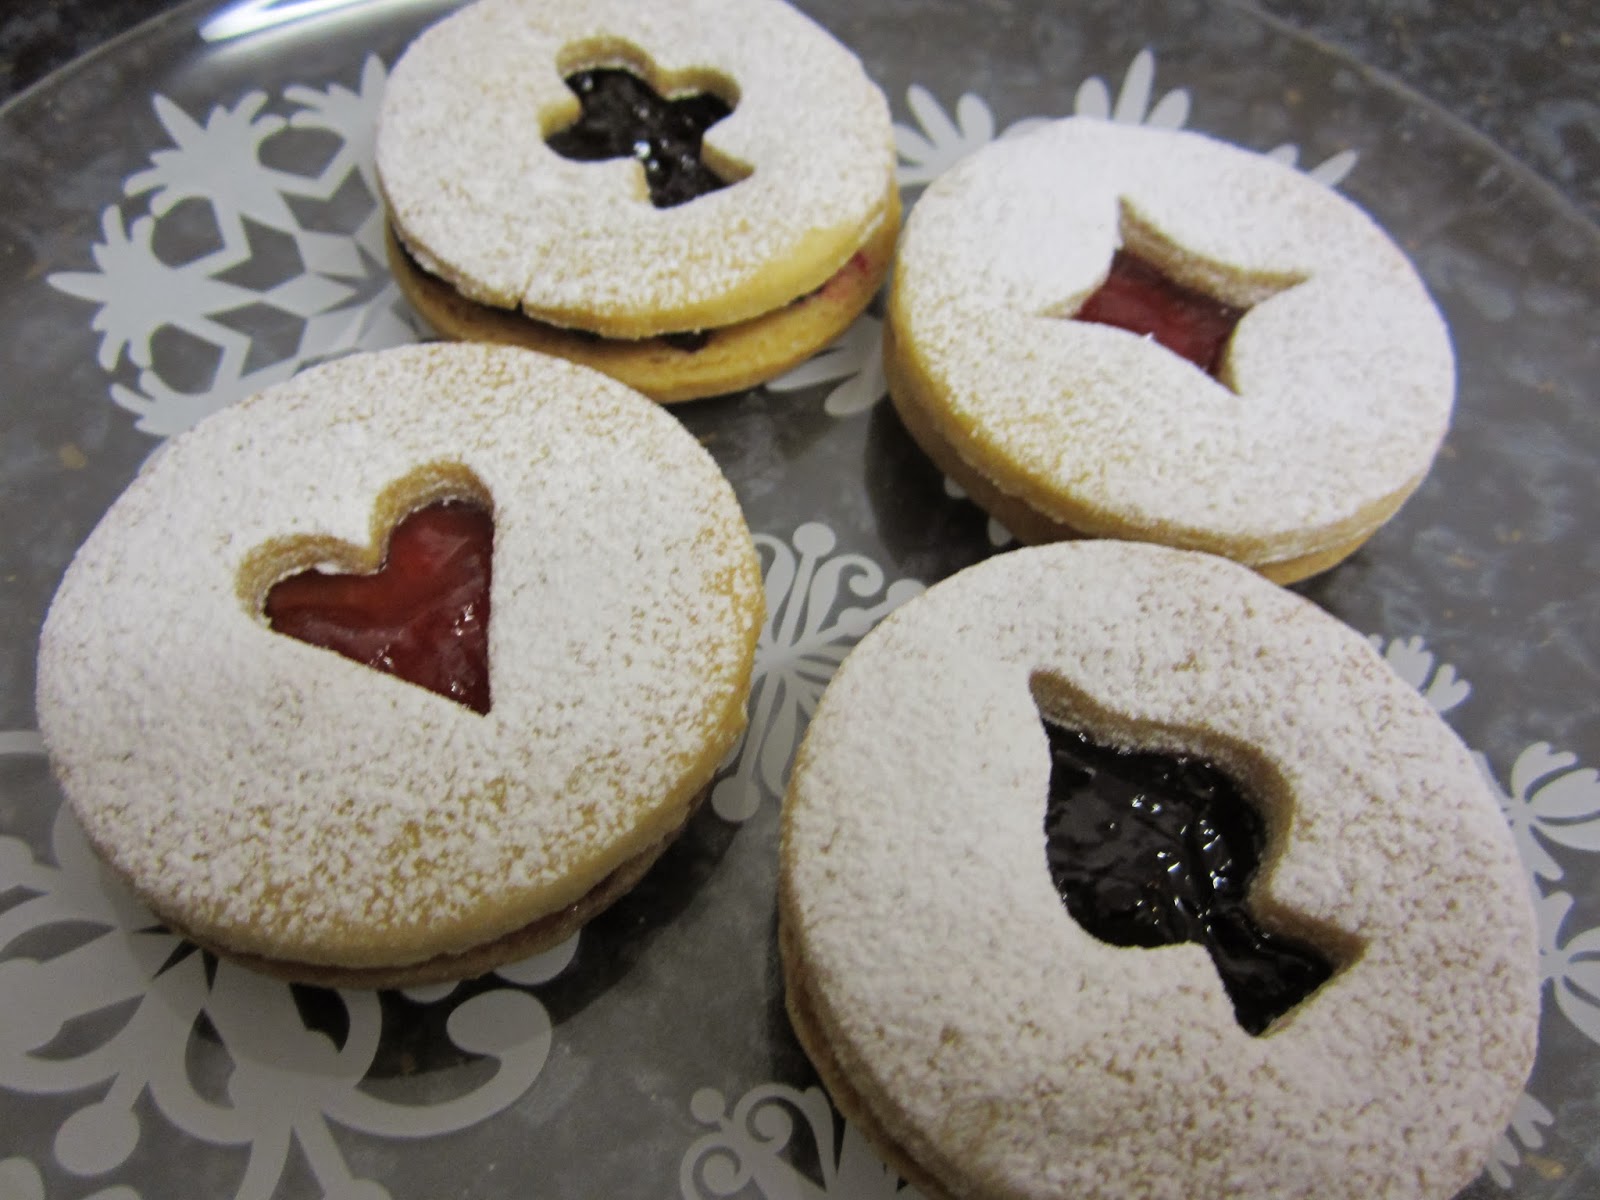
oooh, pretty!
And here they are baked - 20-25 mins until lightly golden brown. Don't worry if they're still soft; they continue to firm on the baking tray.


After about 10 minutes resting on the trays, transfer the biscuits to cooling racks.


hmmm. I really need a window on my oven door!

Match up tops and bottoms - and separate into two.


Spread jam on the bottoms - red jam for the hears and diamonds, black jam for the clubs and spades.


Sprinkle the tops with a generous amount of icing sugar (look - there's my icing sugar sprinkler!)
Don't forget to do this part before assembling, otherwise you cover the jam in sugar as well.


Put the tops on top of the bottoms (holding the biscuits by the edges so as not to disturb the sugar)


Et voila!!


Big ones, little ones!


These were actually better the next day. The cookies had absorbed some of the jammy juices and had softened up nicely.


You can buy the shaped cookie cutters here and presumably some other places...

Sunday, 5 May 2013

Sunday Sweets - Adventures in Icing

The delightful Ina Garten has inspired me to decorate cookies...
Beautiful cookies...

I used the following recipe for the cookies:

4oz very soft butter
6oz caster sugar
1 egg
1/3 tbsp vanilla extract
8oz plain flour
2/3 tsp baking powder
1/4 tsp salt

Beat the sugar and butter together until well combined, and light and fluffy. Then beat it a bit longer. Just for fun.
Mix in the egg, then the vanilla.
Sift the dry ingredients together over the bowl. Mix to form a loose dough.
Form into a ball, wrap in cling film and chill for a couple of hours.

When firm, roll out on to a VERY WELL floured surface. If you think there's just enough flour on there, sprinkle a bit more on... this is a soft dough and will stick like billy-o.
Dip the cookie cutters into flour before pressing out the shapes.
Line baking trays with a non-stick sheet, and lay out the cookies.
(You can refrigerate again at this point. This stops the cookies from spreading in the oven, and it also means you can get some of the prep done the day before if you need to)
Place into a pre-heated oven (temp 180oC) until lightly golden brown.
When cooked lay them onto a rack to cool completely before icing.


Making the icing - use Royal Icing for this, it contains egg whites so sets beautifully hard and shiny. You could make it from scratch using icing sugar and raw egg whites, or you can cheat and use the boxed Royal Icing, which is so much easier!

Mix the icing with enough water to make a very thick, but still runny paste. This is about 125g icing sugar to 35ml water and a splash of lemon juice. The consistency you need here is runny enough to drip off the spoon in ribbons, but firm enough that the ribbons remain on the surface of the icing (you can just see that in the photo below, these were still here after about a minute)


To colour the mix I've used either colouring gel (this is newish to supermarkets - I used this one.) or regular food colouring (though I don't like these nasty natural food colourings. They all seem quite brown. I miss the vivid and the E-numbers!)

I divided the icing into two bowls, and added 3 drops of red to one to create a pale pink, and three drops of red and 3 of blue to make purple. (My supermarket doesn't stock lovely violet...)


It is purple, honest!

This here's my first ever attempt at icing a border on a cookie. 
I've used a sandwich bag, and filled one corner with icing. Twist the top of the bag to secure, and squeeze the icing to the bottom of the bag. Trim a TINY (and I mean tiny) point off the bag and start to outline the cookie. The first corner I trimmed was small. But as you can see, not small enough! I got better at it!
Squeeze the bag with a constant pressure, don't drag the icing, but allow it to drop onto the surface.
This isn't quick, and it's not all that fun. Especially when your hands are shaking.


Leave the outline to set for about 5 minutes - when it's dry to the touch you can flood the centre. The icing used to flood is much runnier than the outline icing. This can be spooned in - but don't make it too runny or you can control it. You can use a paintbrush (preferably a clean one!) to manipulate the icing into all the edges. I used an icing stick.


Leave this to set completely if you plan to decorate on the top. This takes hours to go really hard.


These were decorated with the outline consistency icing. 


As you can see, I had a great time!
 I also made the lines thinner.

They're not knickers!

Really.  Not knickers.

Honestly. Not knickers.
Can you tell what it is yet?

I may have got a little carried away.


Tee hee! It's Cookie-Man!

See? Not knickers!
 These were made by adding drops of icing to the flooded parts before it had set. This gives a smooth finish with no bumpy outlines. You can drag a cocktail stick through it for a feathering effect.