 |
| Excuse the mess! |
(for the 3 layer, 8" cake - 6 eggs: 12oz caster sugar: 12oz marg: 12 oz SR flour: 2 tsp vanilla essence, divided into 3 cake tins)
-Bake for 30-40 minutes at 180oC until a skewer comes out clean. Leave to cool on wire racks.
-Layer up the cake with a fruity jam. Make sure the top layer is upside down so that the flat base of the cake is on the top. This makes it easier to decorate.

-Mix up a butter cream icing and flavour with a little vanilla.
-Apply two layers of butter cream to the entire cake for a nice smooth surface to ice.
-Applying two layers means that any loose crumbs are trapped in the first layer, and the second layer is lovely and smooth!

-Refrigerate between layers - just to firm up before starting on the next one!

Now... *apparently* icing a 3 layer 8" cake like this will require a kilogram of icing. That's quite a lot...
Anyway...
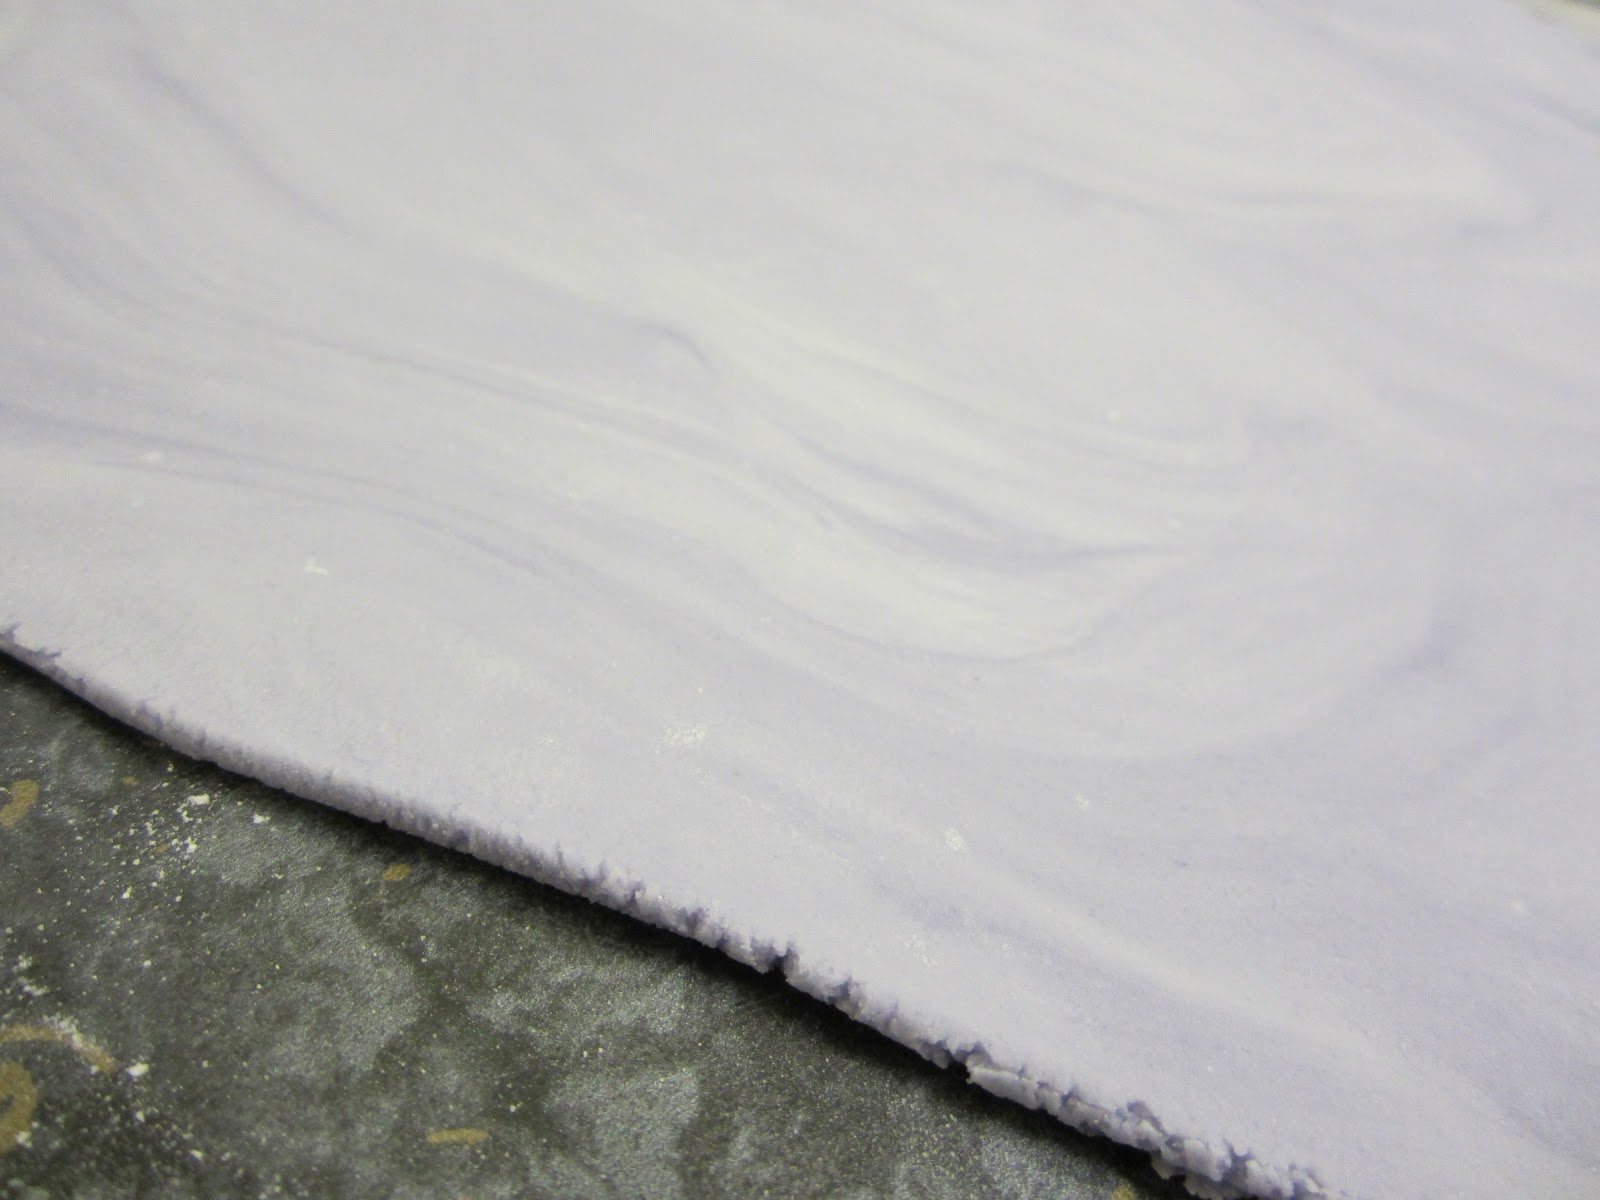
-To make a pale purple base mix 1kg of white icing with 100g of ready coloured purple icing. Cut the icing into 4 or 5 small blocks to make kneading the two colours easier. Knead the smaller pieces back together.
What I have here is a purple marble effect. That should look suitably spooky...
See?

-Dust the surface and the rolling pin with icing sugar
-Roll out to between 3 and 4mm. Turning frequently, and redusting as required.
-You should aim for a rough circle of icing of about 18inches in diameter (Diameter + height + height + waste)
 | ||
| This is a huge amount of icing. As you will see in a bit... |
- Using both arms (not just your hands... this is a mighty swath of icing, after all) lift the rolled out icing and gently drape over the cake
 |
| hmmm. That is *quite* a lot of wastage... |
-Using the flat of your hand very gently tap the icing to the sides of the cake, starting at the top and working round in a spiral-ish manner.
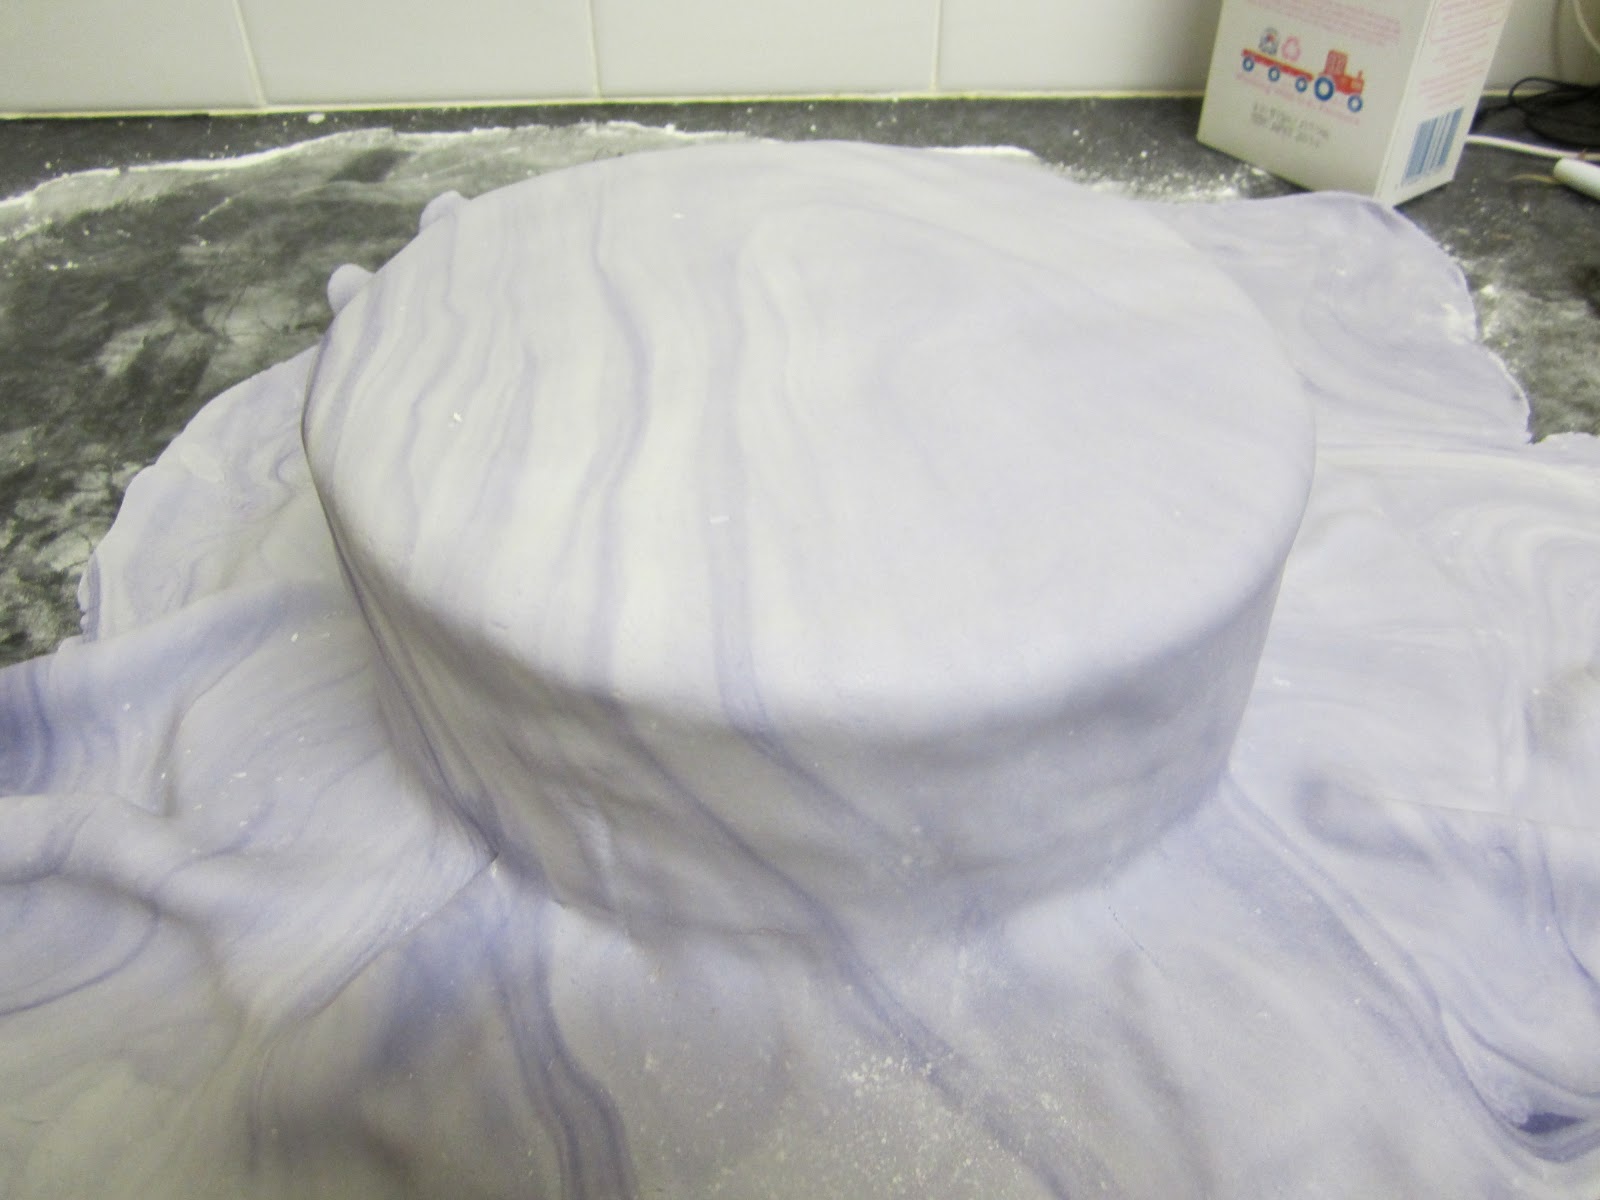 |
| That really *is* a lot of wastage! |

 |
| It's like a ghost cake! |
-Take a sharp knife and trim away the excess icing


-To embellish the cake, roll out coloured icing (these were more of the Halloween ready-coloured pack) and cut out appropriately spooky shapes
-Mix up a little edible glue (about 2 tsp of the roll out icing, made liquid with 4 tsp water) and stick the shapes onto the cake.

I've brushed a little edible glitter over this, just for a bit of sparkle...


And here's the cake at its destination!

So I've now sealed the rest in clingfilm, and intend to use it on another cake. Another purple cake...
No comments:
Post a Comment