I couldn't port my other blog pages over, so I'm having a go at cheating...
Wednesday, 19 March 2014
Monday, 17 March 2014
Batman Cup Cakes
A nice easy one today - Batcupcakes.
I'm Batman...
Today's toy is a Batman cookie cutter!


Cup cakes -
4oz marg
4oz caster sugar
4 eggs
1/2 tsp vanilla extract
4oz self raising flour
Icing (this made loads, most of which I'm saving for next week) -
Big dollop marg (sorry, that's not very technical.)
1kg icing sugar
1 tsp vanilla extract
100g block of black icing
Make up cakes as usual - cream marg and sugar together, whisk in eggs and vanilla, mix in flour.
Scoop into large cup cakes with you trusty medium sized ice-cream scoop.
Cook for 20mins or so at 190oC until golden brown and cooked through.
Allow to cool on a wire rack (look at my funky new rack! It stacks!!!)
Roll out the icing on a flat surface with a light dusting of icing sugar. Rotate, flip and roll until it's about 2mm thick.
Buff with polishing tool for a mirror finish.
 |
| Doesn't quite show how mirrory this was! |
Take the cutter and stamp out many many bats...


Lift each bat carefully and allow to air dry on a nonstick sheet.
Load a sandwich bag with icing - force it all into one corner, then snip the corner off. Twist the bag until it starts flowing out of the hole.
Holding a cake in one hand, apply firm and constant pressure to the bag and rotate either the cake or the icing to cover the cake in an inwards spiral.
Let the cakes dry for an hour before applying the bats (if they don't quite stick scrape a small amount of icing off the tops. Only a tiny bit. Just enough to stop them wobbling about)
Present cakes to excitable child for his 4th birthday...
Saturday, 8 March 2014
Soda Bread!
Here are some photos of soda bread...
I'm not going to give you the recipe though. It was a disaster. I have learnt from my mistakes... When the recipe says knead lightly, it really doesn't mean knead for 10 minutes... no indeed. It means don't knead it for 10 minutes, your bread will end up like a brick.
Still. It smelled lovely!
I'm not going to give you the recipe though. It was a disaster. I have learnt from my mistakes... When the recipe says knead lightly, it really doesn't mean knead for 10 minutes... no indeed. It means don't knead it for 10 minutes, your bread will end up like a brick.
Still. It smelled lovely!
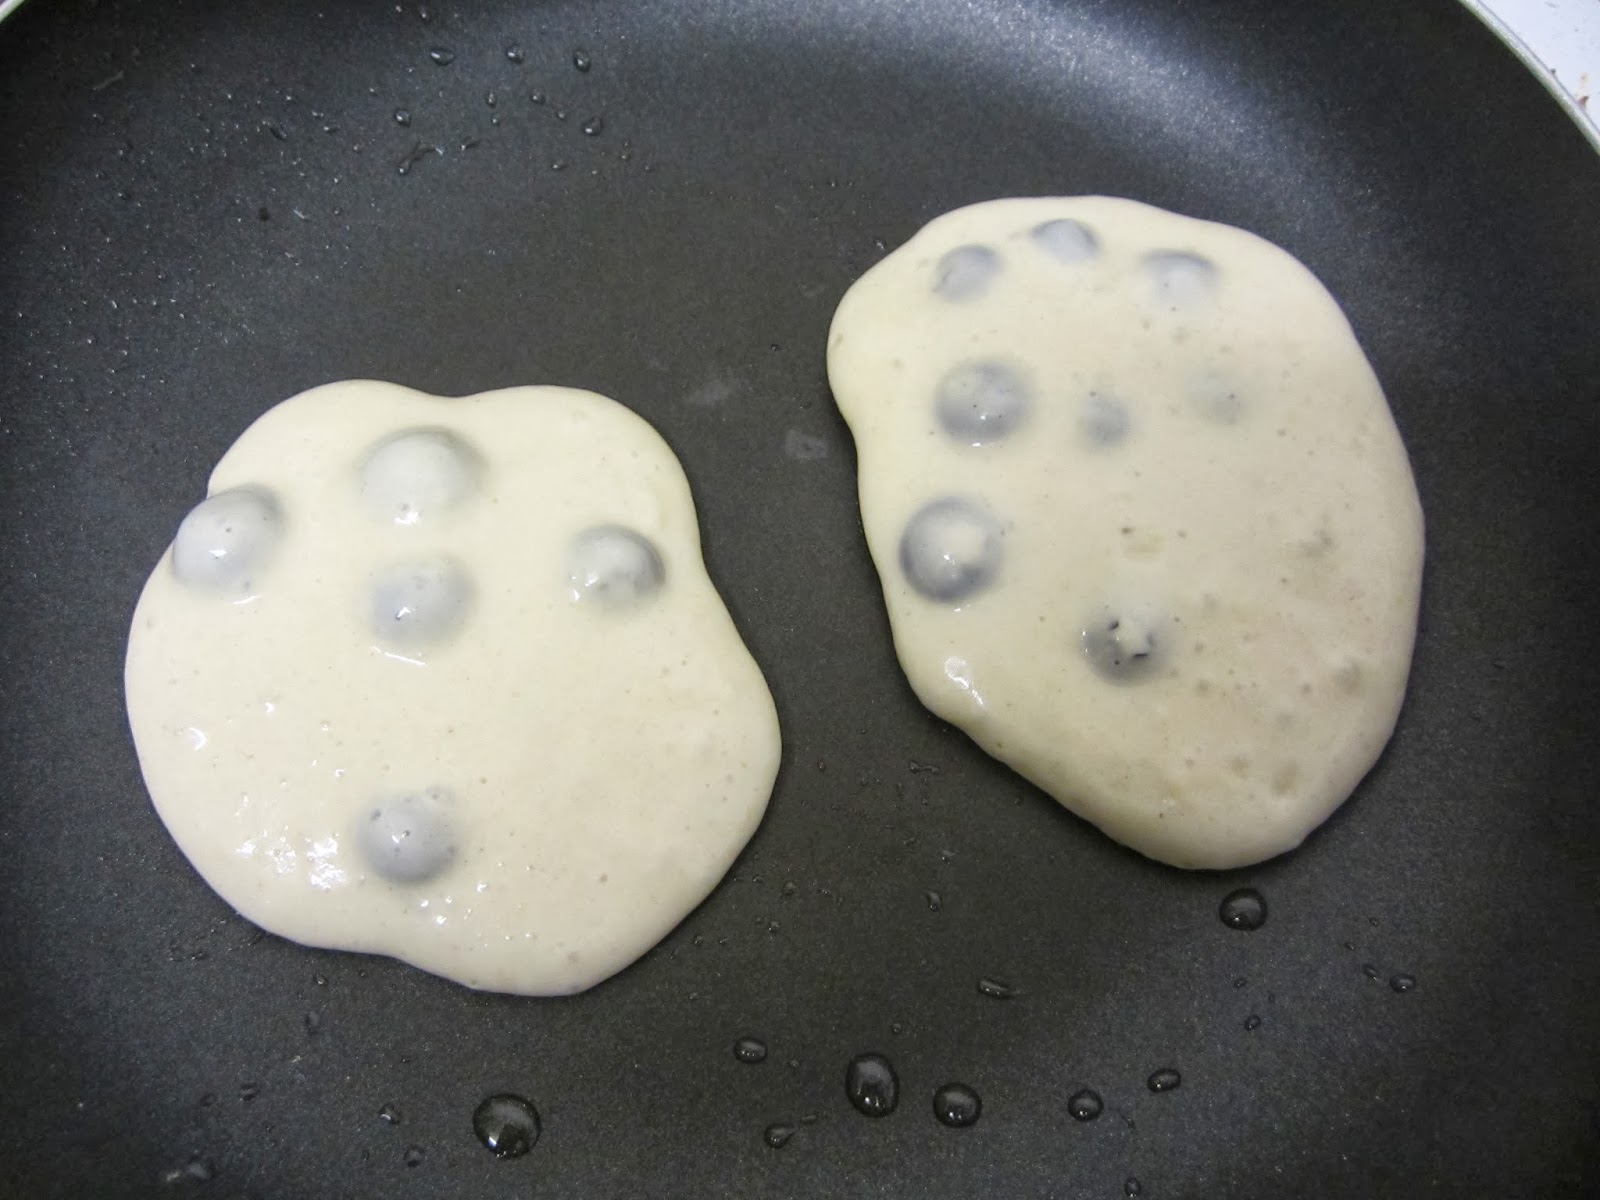
Blueberry Pancakes - American style
It was only whilst I was cooking that I remembered I'd found these magical little pots in Home Bargains last week, which would be perfect to go with them!
American Style Blueberry Pancakes
200g SR Flour
1tsp Baking powder (if you don't have any, and I never do... you can make your own with 2 parts Cream of Tartar: 1 part Bicarbonate of Soda)
1/4tsp salt
1/4 tsp lemon zest
1 egg
300ml milk
1/2 tsp vanilla extract
30g butter (melted)
100g blueberries
Sift the flour, baking powder and salt into a bowl, and stir in the lemon zest. Make a well in the middle.
Mix the milk, egg and vanilla in a jug.
Add the liquid to the bowl, whisking continually.
You might not need all the milk mix, you're looking for a thickish batter, runny enough to scoop and drop into a pan, without it running everywhere!
Melt the butter and add this to the mixture, stir as you add, otherwise you end up with lumps of solidified butter. And no one wants that.
Stir in the blueberries. Leave to stand for 10 minutes.
Heat a frying pan (non stick works best. Then you don't need to worry about using butter or oil which just always goes wrong) on medium heat, and scoop in heaped teaspoons of the mix.
You can probably cook 3 or 4 at a time depending on how big they are.
I employed my trusty ice-cream scoops again. These were big ol' pancakes.
Cook for about 3 minutes, or until you see bubbles pop in the surface of the pancakes.
Flip them, and cook for a further 3 minutes.
You should hear a fizzing noise after you've flipped them over - that's the blueberries bursting and the juices cooking...
Stack them and serve with maple syrup! mmm. Syrupy!
I've now got a large jar of left over mix left for breakfast tomorrow. And possibly the next day.
I just hope it doesn't release a whole lot of carbon dioxide over night and explode...
And tomorrow I might even make a blueberry sauce to go with it. Maybe.
Thursday, 6 March 2014
Vanilla Cup Cakes
Vanilla Cupcakes
Dry ingredients:
280g caster sugar
240g plain flour
1 tbsp baking powder
1/4 tsp salt
80g margarine, softened
Wet ingredients:
240ml (8½ fl oz) milk
½ tsp vanilla essence
2 medium eggs
-Sift the dry ingredients together into a large bowl, add the margarine and whiz until the mix resembles breadcrumbs.
-Combine the wet ingredients in a jug, and whisk together. Mix, whilst gradually adding this to the dry ingredients.
-Whisk until smooth.
-Pour the mix into cake cases in deep tins (fill the cases about 3/4 full). (I got to use my icecream scoops again - small for regular sized cakes, medium for muffin cases)
-Bake in the middle of a pre-heated oven (190oC) for about 20mins.
-Perform a skewer test just to make sure they're cooked through.
-Leave in the tins for 10 minutes or so, before removing the cakes and placing on a cooling rack until cooled through.
Decorate with swirls of buttercream icing.
 |
| Crumbs? Well... yes, I may have sampled a couple... |
 |
| Only in the name of quality control, you understand... |
Tuesday, 4 March 2014
Shiny new thing over there...
Over there. On the right... and down a bit. A little bit more...
There it is!
A lovely Folksy widget thing showing the shiny things you need in my shop!
I'm going to have to see if it works now.
Normal service will be resumed soon.
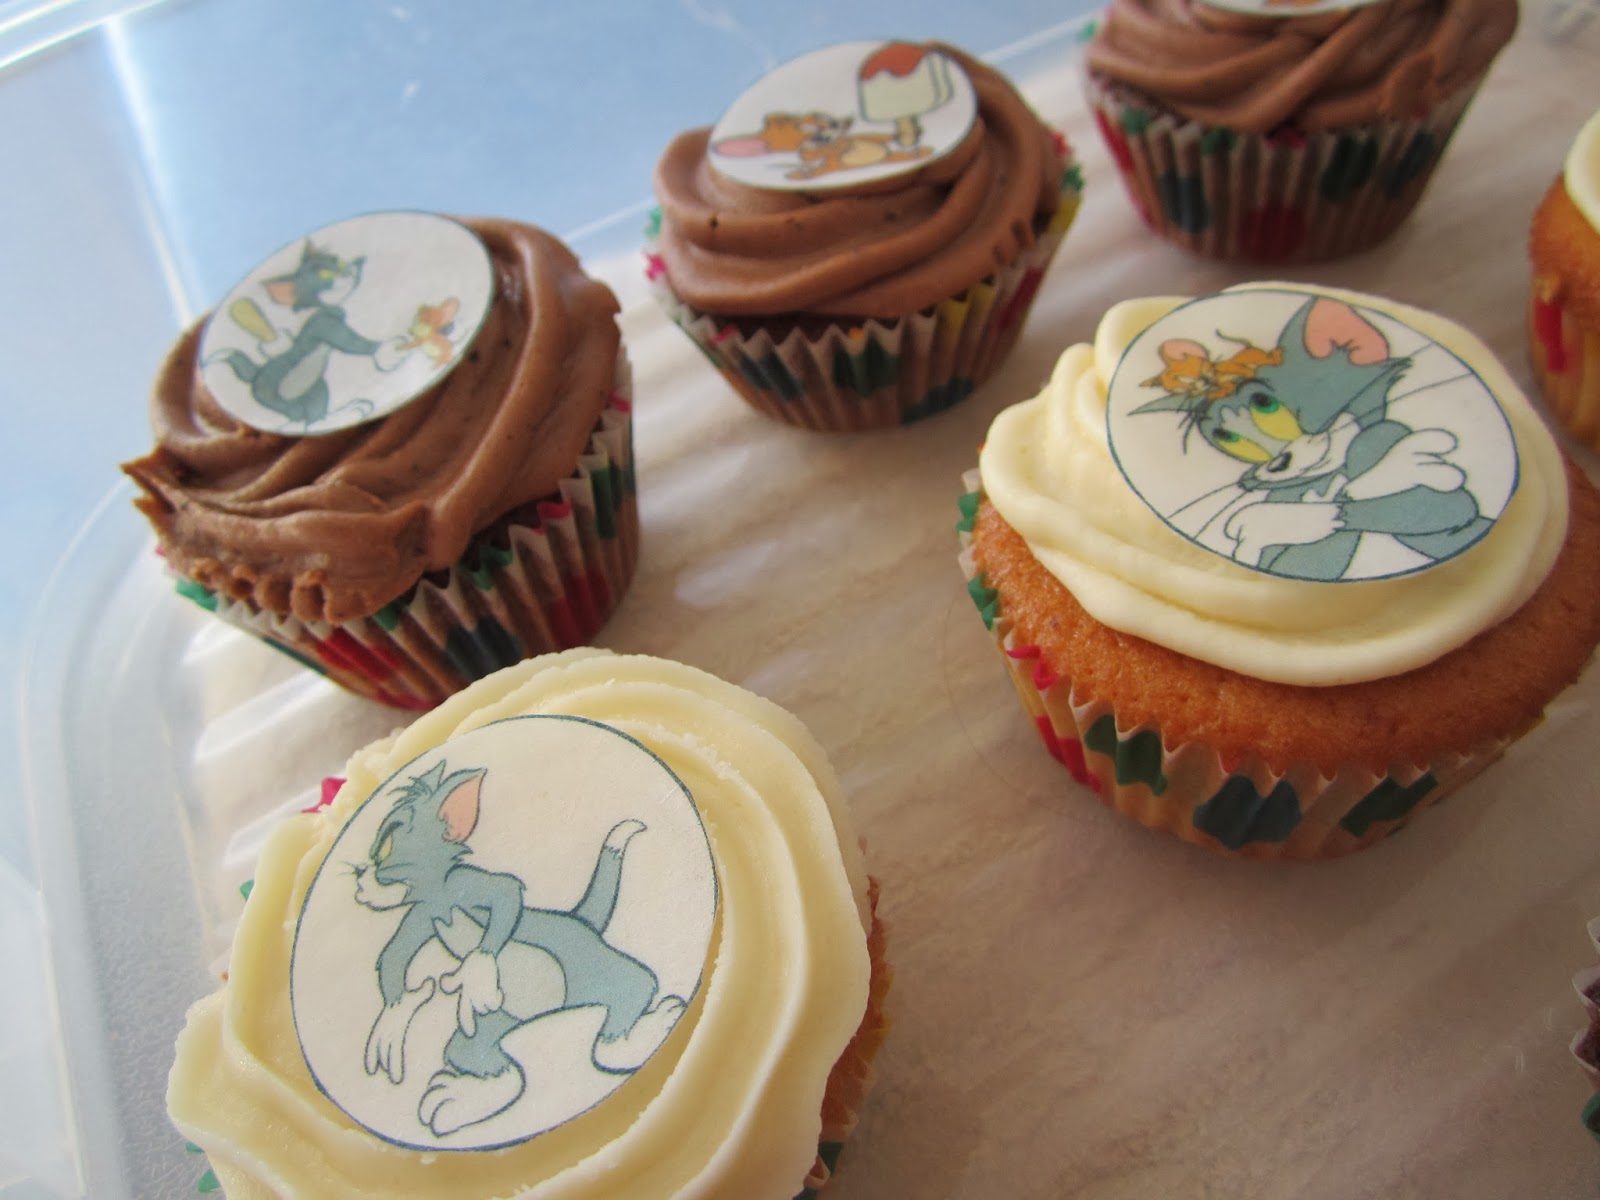
Coming shortly - iced vanilla cup cakes, granola, soda bread, Batman cakes, cat cakes, sheet cakes, shortbread cookies and cakes in novelty tins. I've got to make it all first though, so bear with me!
Subscribe to:
Comments (Atom)


